The best approach to building a plan in Microsoft Project involves a structured, sequential workflow that configures global project settings first, inputs and links tasks dynamically, and finally layered resources and costs. Jumping straight into entering dates manually is the most common pitfall; instead, you should rely on the software’s automated scheduling engine to manage the timeline.
can be downloaded at banner link
Follow these sequential steps to build a bulletproof, dynamically adjusting schedule in Microsoft Project:
Step 1: Initialize Global Project Options
Before typing a single task name, configure the framework of the file so the software automates the hard math for you.
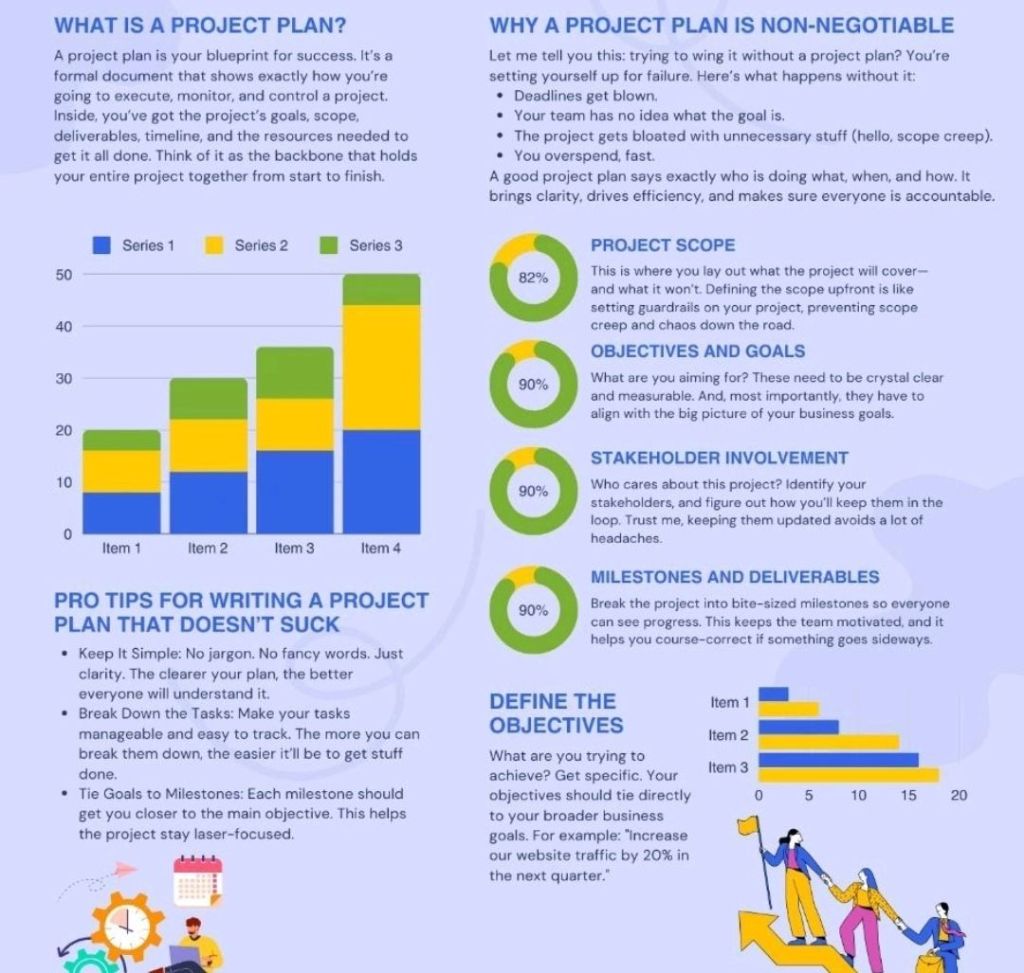
- Set the Start Date: Navigate to Project > Project Information, and input your official project start date so all calculations anchor correctly.
- Enforce Auto-Scheduling: Change the default task mode from “Manually Scheduled” to “Auto Scheduled” in the bottom-left status bar (or via File > Options > Schedule). This enables the scheduling engine to automatically adjust timelines based on dependencies.
- Display the Project Summary Task: Go to the Format (or Gantt Chart Format) tab and check the Project Summary Task box. This creates a “Row 0” that automatically calculates the total duration, cost, and overall work of your entire project.
- Configure Project Calendars: Click Project > Change Working Time to define standard working hours, weekends, and specific company holidays so work isn’t planned on non-working days.
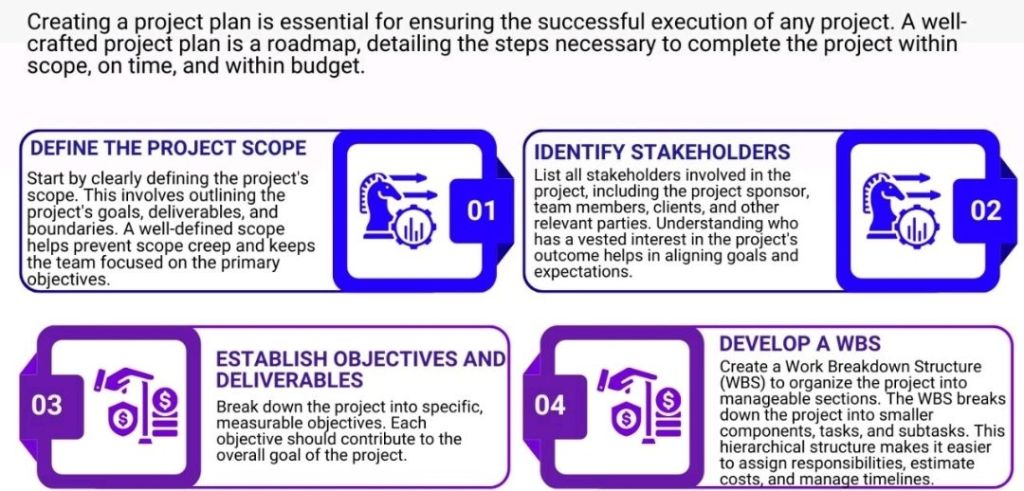
Step 2: Build the Work Breakdown Structure (WBS)
Brainstorm your deliverables and list your tasks out comprehensively before worrying about their exact dates.
- Input Phases and Tasks: Type your high-level project phases and specific action items under the Task Name column.
- Indent to Create Hierarchy: Highlight your sub-tasks and click Task > Indent to nest them under your major phase rows. The parent rows automatically transform into bold Summary Tasks that roll up the schedules of everything underneath them.
- Insert Milestones: Mark critical success checks, approvals, or delivery deadlines by creating a task and giving it a 0-day duration. This displays a distinct diamond symbol on your Gantt chart.
Step 3: Add Durations and Establish Logic
Now that the tasks exist, define how long they take and how they interact with one another.
- Assign Durations Only: Enter estimated timeframes (e.g.,
5dfor days,2wfor weeks) in the Duration column. Never manually type dates into the Start or Finish columns, as doing so applies rigid constraints that break your dynamic scheduling engine. - Link Predecessors and Successors: Establish logic by entering row numbers into the Predecessors column, or by highlighting sequential tasks and clicking the Link Tasks icon (the chain link).
- Use Relationships and Lags: Double-click a relationship line to shift from the standard Finish-to-Start (FS) hookup to Start-to-Start (SS) or Finish-to-Finish (FF), and add lead or lag time where necessary.
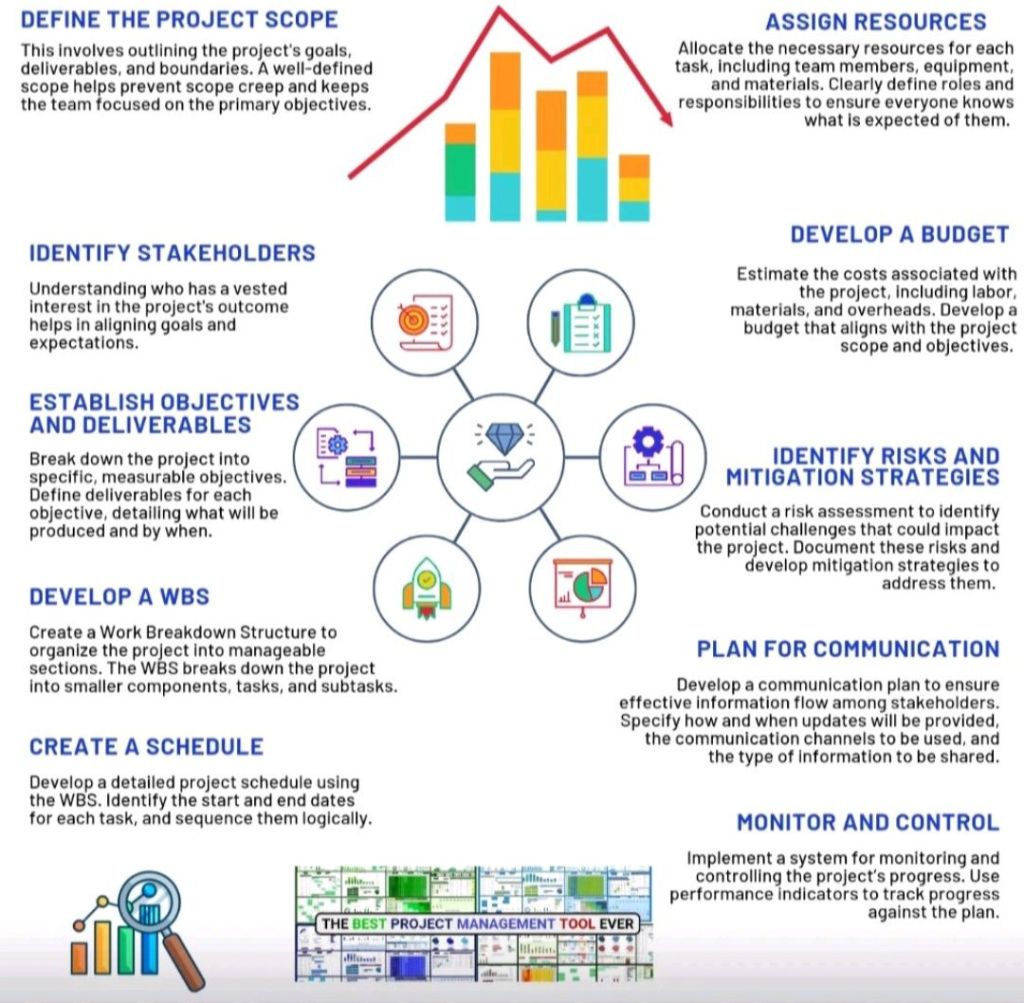
Step 4: Layer Resources and Check the Critical Path
A timeline is only realistic if you have the people and tools available to actually execute the work.
- Build the Resource Sheet: Switch your view to the Resource Sheet and add your team members, material items, or equipment along with their standard hourly rates.
- Assign Resources to Tasks: Return to the Gantt Chart view and use the Resource Names column to assign specific entities to individual sub-tasks. Project will now automatically compute the total labor hours and financial costs.
- Analyze the Critical Path: Go to the Format tab and check Critical Tasks. The tasks that turn bright red dictate your project’s final finish date; if any of these slip by a single day, your entire project deadline slips.
Step 5: Lock in the Baseline
Once your stakeholders formally approve this initial schedule, you must lock it down before tracking day-to-day progress.
- Go to Project > Set Baseline > Set Baseline.
- This saves a permanent snapshot of your original plan’s dates, durations, and costs. As the project gets underway and actual hours are recorded, you can use the Tracking Gantt view to instantly see where you are drifting from your original commitments.
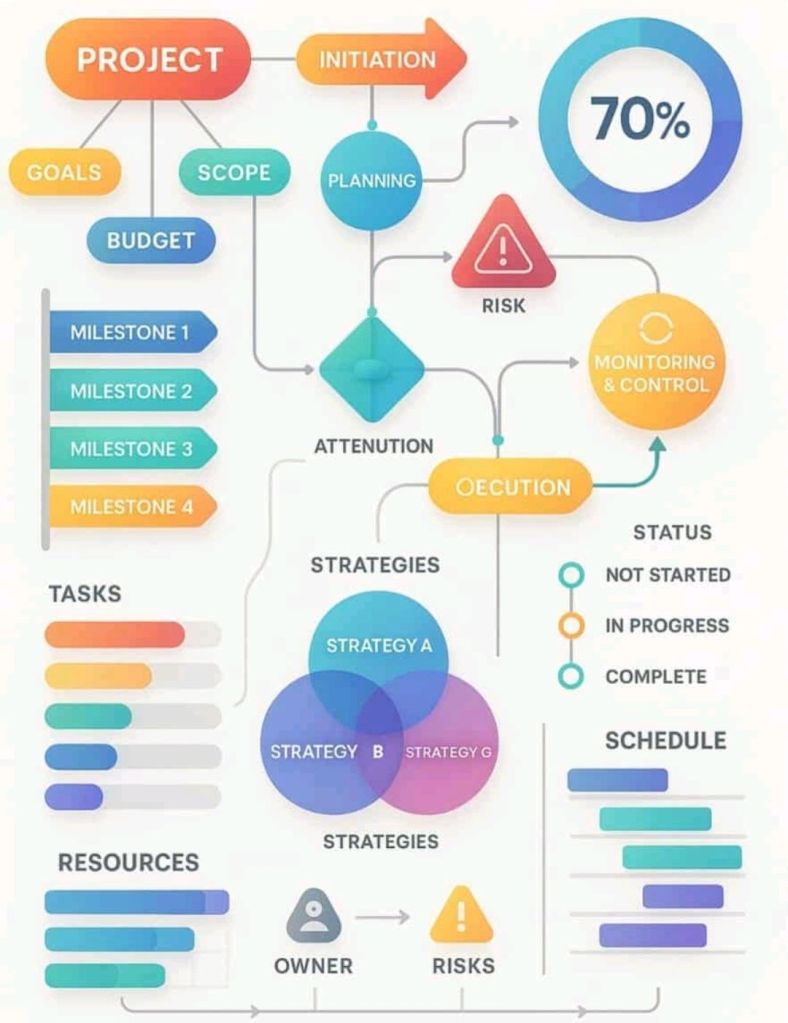
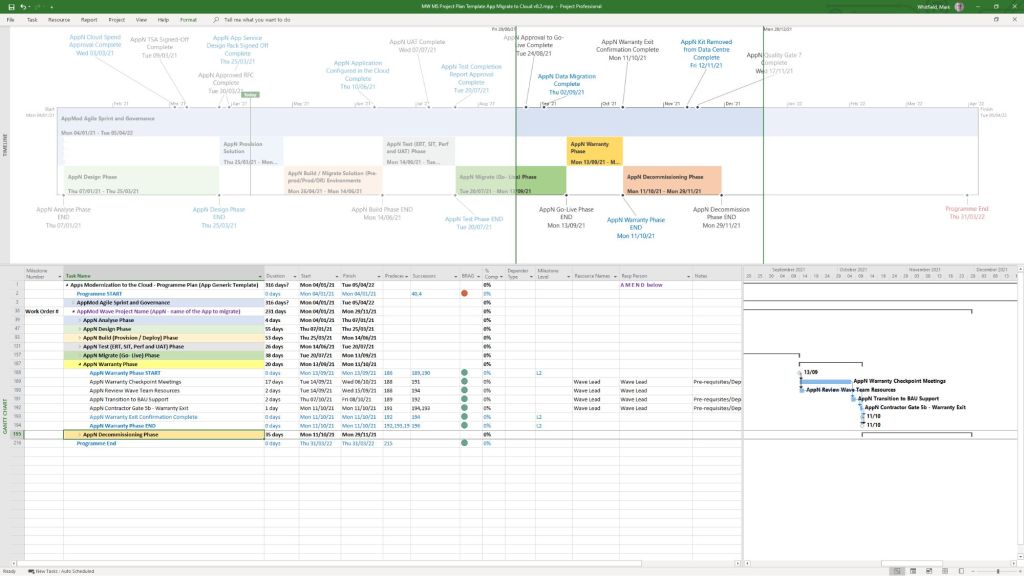
Building a Microsoft Project MPP Plan in 5 Steps